The moment you see your eyebrows looking thinner can feel surprisingly significant. It might happen under bright bathroom lighting or in a casual selfie where your eyes suddenly seem less defined. The tails look sparse and the arch fades from certain angles & no amount of pencil seems to help. That’s usually when the idea of salon brow lamination comes to mind. But then you think about booking and paying and traveling & sitting through strong chemical smells. So you close the tab and rinse your face and decide there has to be a simpler way.
Simple Lamination Techniques for Effortless Brows
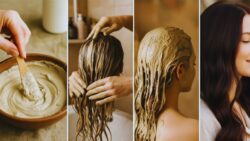
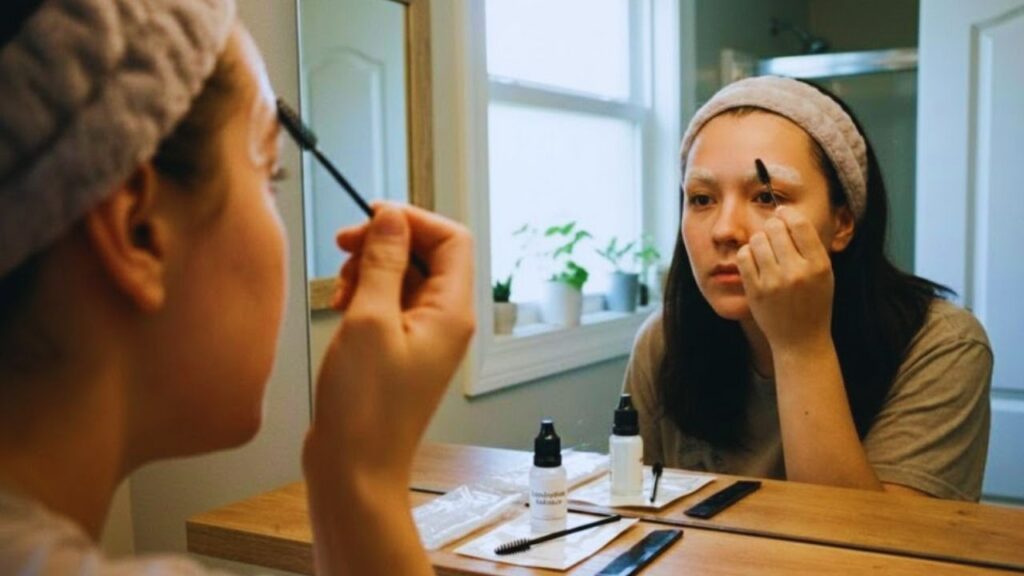
There is something peaceful about sitting at your bathroom counter late at night with the fan humming and music playing softly while you work on your brows. No bright salon lights or forced small talk. Just you with a mirror and a small brush. Home brow lamination might sound complicated but it’s actually straightforward. You’re simply training your natural brow hairs to stay in a flattering direction so they look fuller and more defined. You’re not creating fake brows or drawing anything new. You’re just helping your real brows look their best. When you understand the basic steps of softening the hairs & then shaping them & setting them in place and finally nourishing them afterward it stops feeling scary. It becomes a simple routine you can do every few weeks without stress.

Organizing Your Tools: Calm and Minimal
Before you start working on your brows you should prepare your space first. Clear some counter space and arrange your tools in the order you plan to use them. This simple step helps create a calm atmosphere and makes the whole process feel more relaxing. Most home lamination methods need only a few basic items. Some people buy complete brow kits while others use gentle products they already have at home. No matter what you pick the idea remains the same: use small amounts of product and always choose the gentlest option you can find. You need a soft facial cleanser to remove oil and buildup without causing irritation. A brow spoolie helps guide hairs into position & a clean mascara brush works just as well. The brow lamination formula relaxes the hairs so you can reshape them but you should always do a patch test before using it.

A setting or fixing solution keeps the new shape in place without making your brows feel heavy. Finally a hydrating oil or serum nourishes both the hair & skin when you apply it lightly before bed. When you stand in front of the mirror with these tools it feels less like a complicated procedure and more like regular self-care. You are not trying to become a professional overnight. You are just learning how your brows naturally grow & shaping them into a style that feels right for you.
Step-by-Step Brow Reset Without Rush
Your first time doing lamination at home should be done slowly & carefully. Notice the small things like how the cool water feels on your skin and the soft scraping of the spoolie as it moves through your brow hair. This process is not only about getting good results. It is also about taking a few peaceful minutes for yourself.
Thoroughly Cleanse the Brow Area
Brows gather sunscreen and moisturizer along with makeup residue and natural oils. Begin by washing the area with a gentle cleanser that has no fragrance. Rinse everything off with lukewarm water & gently pat the skin dry with a soft towel. Use a cotton pad for one last wipe to make sure nothing is left behind. When brows are clean they stand up better & become much easier to shape.
Observe Your Natural Brow Growth Pattern
Before you apply any product you should comb your brows upward using a clean spoolie and look at them carefully. You will notice that some hairs naturally stand up while others stay flat and some point to the side. Pay attention to the areas where hair is thin and look at the shape of your arch and how the tail section looks. When you understand these natural patterns you can work with your brows instead of trying to force them into an unnatural position.

Gently Relax Brow Hairs Before Styling
Apply a small amount of lamination or lifting solution to the brow hairs with a micro brush or cotton swab while keeping it away from the skin. This step softens the hair structure in the same way that warming clay makes it easier to shape. Use a spoolie to comb the solution through the hairs & brush them upward and slightly outward. Allow it to sit for the recommended time which is usually just a few minutes. If your brows are fine you should use less time rather than more.
Shape Brows With Intent, Not Pressure
Once the hairs are softened you should use a clean spoolie to shape them properly. Start by brushing the front section upward to create a fluffy effect and then angle the arch & tail toward your temples. You want to aim for balance rather than exact symmetry between both brows. One brow might naturally have a sharper arch while the other has more fullness. The goal is to create an enhanced version of your natural brows instead of copying a style that doesn’t suit your face.
Secure the Brow Shape for Lasting Hold
After you remove the extra lifting solution you should apply a thin layer of setting or neutralizing product. Use the comb again and gently press any stubborn hairs into place for a few seconds. When the setting time is finished you can wipe away any leftover residue & take a look at the results. The transformation is often impressive because your brows will appear taller & fuller with more definition without looking artificial or drawn on.
Post-Care Tips: Let Brows Settle Naturally
Your Newly Laminated Brows Freshly laminated brows can feel similar to getting a new haircut. During the first day or two you might notice your reflection looks a bit different than usual. This is completely normal and you should give yourself time to adjust to the change. As your skin’s natural oils gradually return over the next few days the overall appearance will become softer and more natural looking. It is important to keep the brow area dry during the first 24 hours after treatment. This means avoiding water contact as well as steam from showers or saunas.